How to Build A Home Recording Studio

Want to build your own home recording studio, but aren't sure how to get started? From considering acoustics to choosing the right gear, we've got everything you need to know.
Recording at home used to be a largely modest affair, with eight-tracks, small mixing consoles and maybe a few racks of effects. But these days, advances in technology have vastly changed the calculus. Thanks to more powerful computers, digital audio workstations (DAWs) now provide virtually unlimited channels and effects rivaling some of the greatest professional studios of yore.
Building The Space for Your Home Studio
Let's start with where you're going to set up. Ideally, you have a spare room or a basement that can be reserved solely for your project studio. If so, you'll want to think about acoustic foam and other sound absorbers to handle less than ideal sonic characteristics. While recording is an art, acoustics is a science.
You'll want the space to be as sound-neutral as possible, limiting wave reflections that make it hard to capture the music and mix it later accurately. Professional recording studios built on floating slabs require the services of acoustical architects and cost tens of thousands of dollars. But this shouldn't deter you from making the best of your available space.
Here are some tips for improving your home studio's acoustics:
- Cover hardwood floors with carpeting or area rugs.
- Make sure windows are covered with fabric treatments – the heavier, the better.
- If you have a choice between a rectangular room and a square one, choose the rectangular room as square rooms tend to create problematic "standing waves."
- Some pros advocate a live-end/dead-end arrangement, where the mix area is set up at the dead end of the room, and the recording space is in the live area.
- Use acoustic foam if you're in a more permanent space, but make sure it's the commercially available professional (and fire retardant) type.
- Experiment: Books in bookcases, floor pillows and overstuffed chairs can go a long way in breaking up offending frequencies.
Remember, too, that there is no way to soundproof a room completely. Sound travels easily through doors, windows, ceilings and floors. If you have the luxury of setting up your studio on a top floor, you'll still need to be concerned about who is next door or one floor down.
Also, one person's music is another's noise, so check volume levels by playing back through your studio monitors and listening outside your recording space. If you can hear it, so can your upstairs, downstairs, next-door neighbors and family. Use headphones for mixing at odd hours. No one but you and the drummer wants to hear a drum track at midnight or on a peaceful Sunday afternoon.
Choosing the Right Computer for a Home Studio
We'll bypass the Mac versus PC battle here. It's really about what OS you prefer and feel comfortable using. Fortunately, computers of both flavors these days normally come with enough RAM and hard drive space for audio production purposes. If you're buying a computer on a budget, don't skimp on RAM over storage. More RAM helps run memory-intensive applications using lots of plug-ins. Even if you fill up a smaller solid-state hard drive on a laptop, you can always move your 200-track monster compositions to an external drive, right?
Though many like the convenience of a portable laptop, you might also want to consider using a second monitor with a separate mouse and keyboard for a faster and more convenient workflow.
Digital Audio Workstation (DAW)
A digital audio workstation (DAW) is software designed to record, edit, and playback digital audio. A key feature of DAWs is the ability to freely manipulate recorded sounds in the same way that word processing program manipulates typed words.
DAWs allow you to record audio, record MIDI, cut, copy and paste audio or midi sequences, change tempo, change pitch, apply sound effects, use loops, play virtual instruments and samplers, mix, master and much more.
There are many popular programs to choose from out there. Apple Logic Pro and Pro Tools are widely used, and both offer solid traditional DAW environments. The veteran Steinberg Cubase software can be used with both Mac OS and Windows. But there are also less conventional options, including Ableton Live and Reason from Propellerhead.
Audio Interface
The audio interface is an analog-to-digital converter that has increasingly taken the place of the soundcards installed into most computers. An interface allows your recording software to process audio into the computer, as well as back out to your speakers.

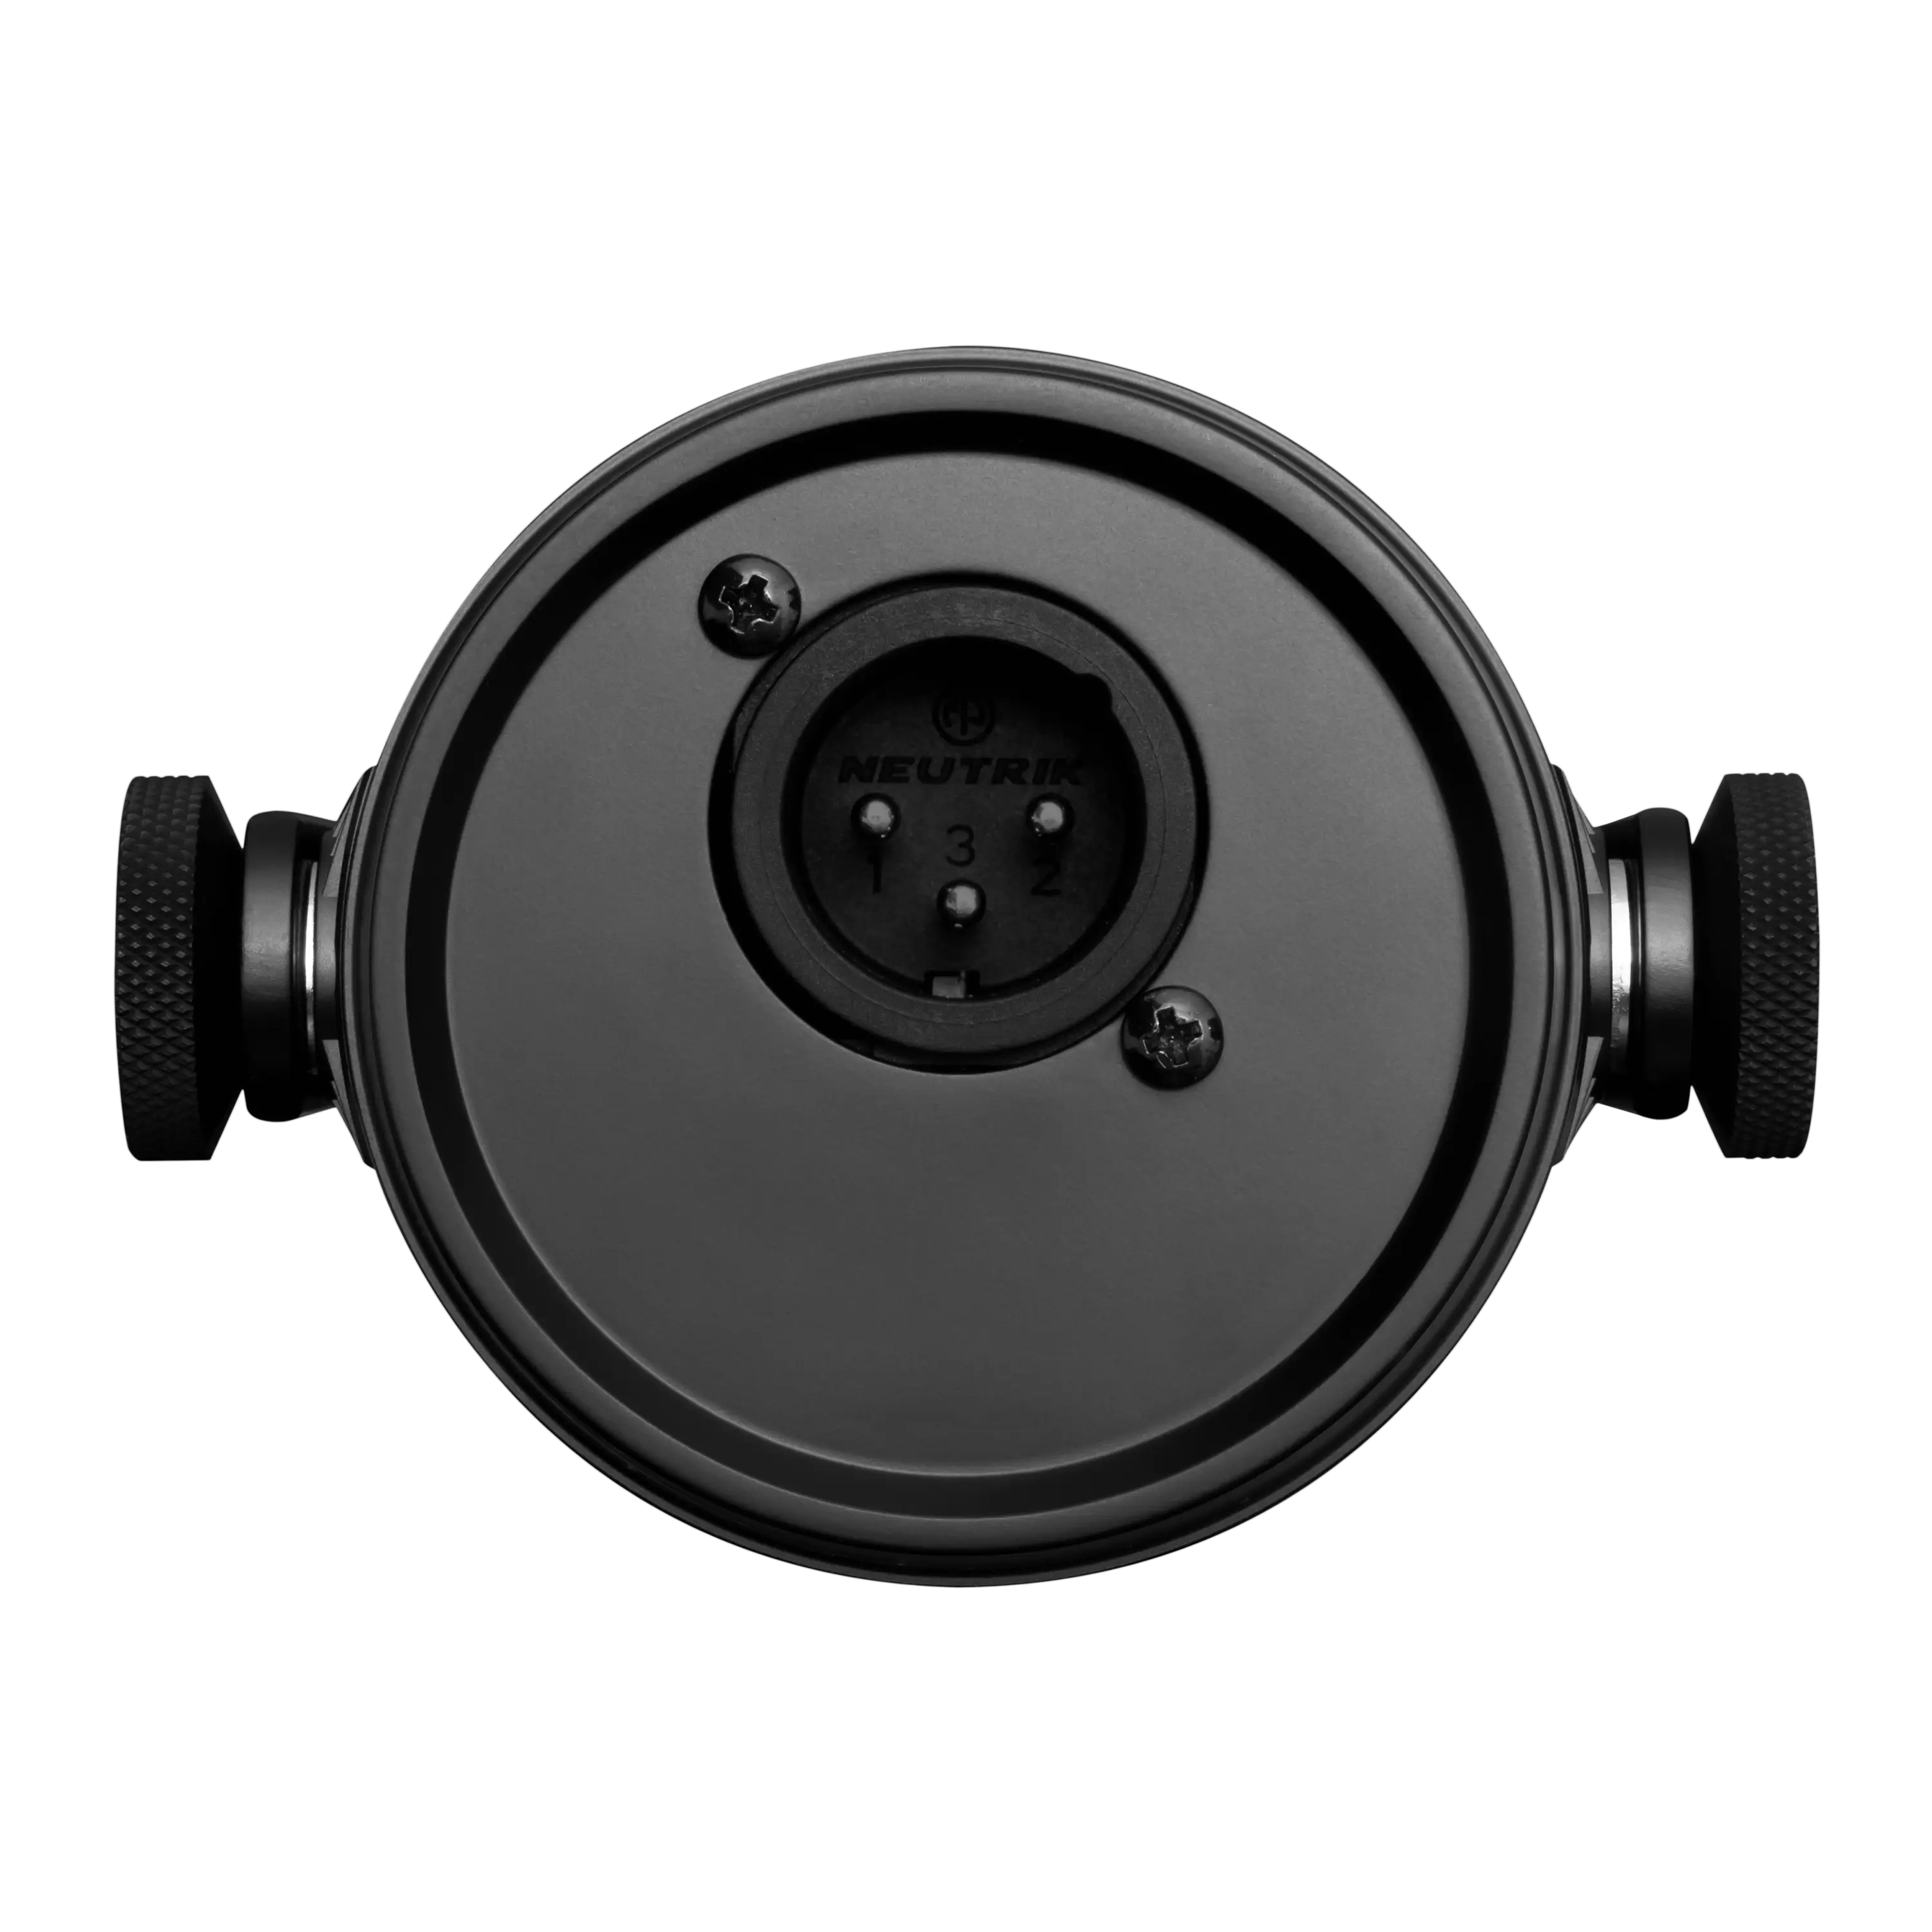
Most computers don't come with standard 1/8" jacks or XLR ports, so if you want multiple inputs for microphones and instruments, you'll need to get an audio interface. This is where you'll want to figure out how everything connects and purchase an interface that fits your specific needs. Both Focusrite and Universal Audio make popular models for home recording.
If you want a future-proof audio interface, you might look for one offering Thunderbolt 3 or USB-C connectivity, since they both use what has become the port standard for computers of all makes.
For recording both at home and on the go, a portable audio interface like the MVi might be what you're after. Besides offering a selection of onboard signal-processing presets, it works without external power, so you can record wherever you can set up your laptop. It also provides phantom power for condenser microphones and has a headphone jacks for latency-free monitoring.
Microphones for Home Studios
If you're going to be recording vocals, instruments or sampling your own sounds, you're going to need a quality microphone. But your options will naturally be determined by what you're recording and how much you have to spend.
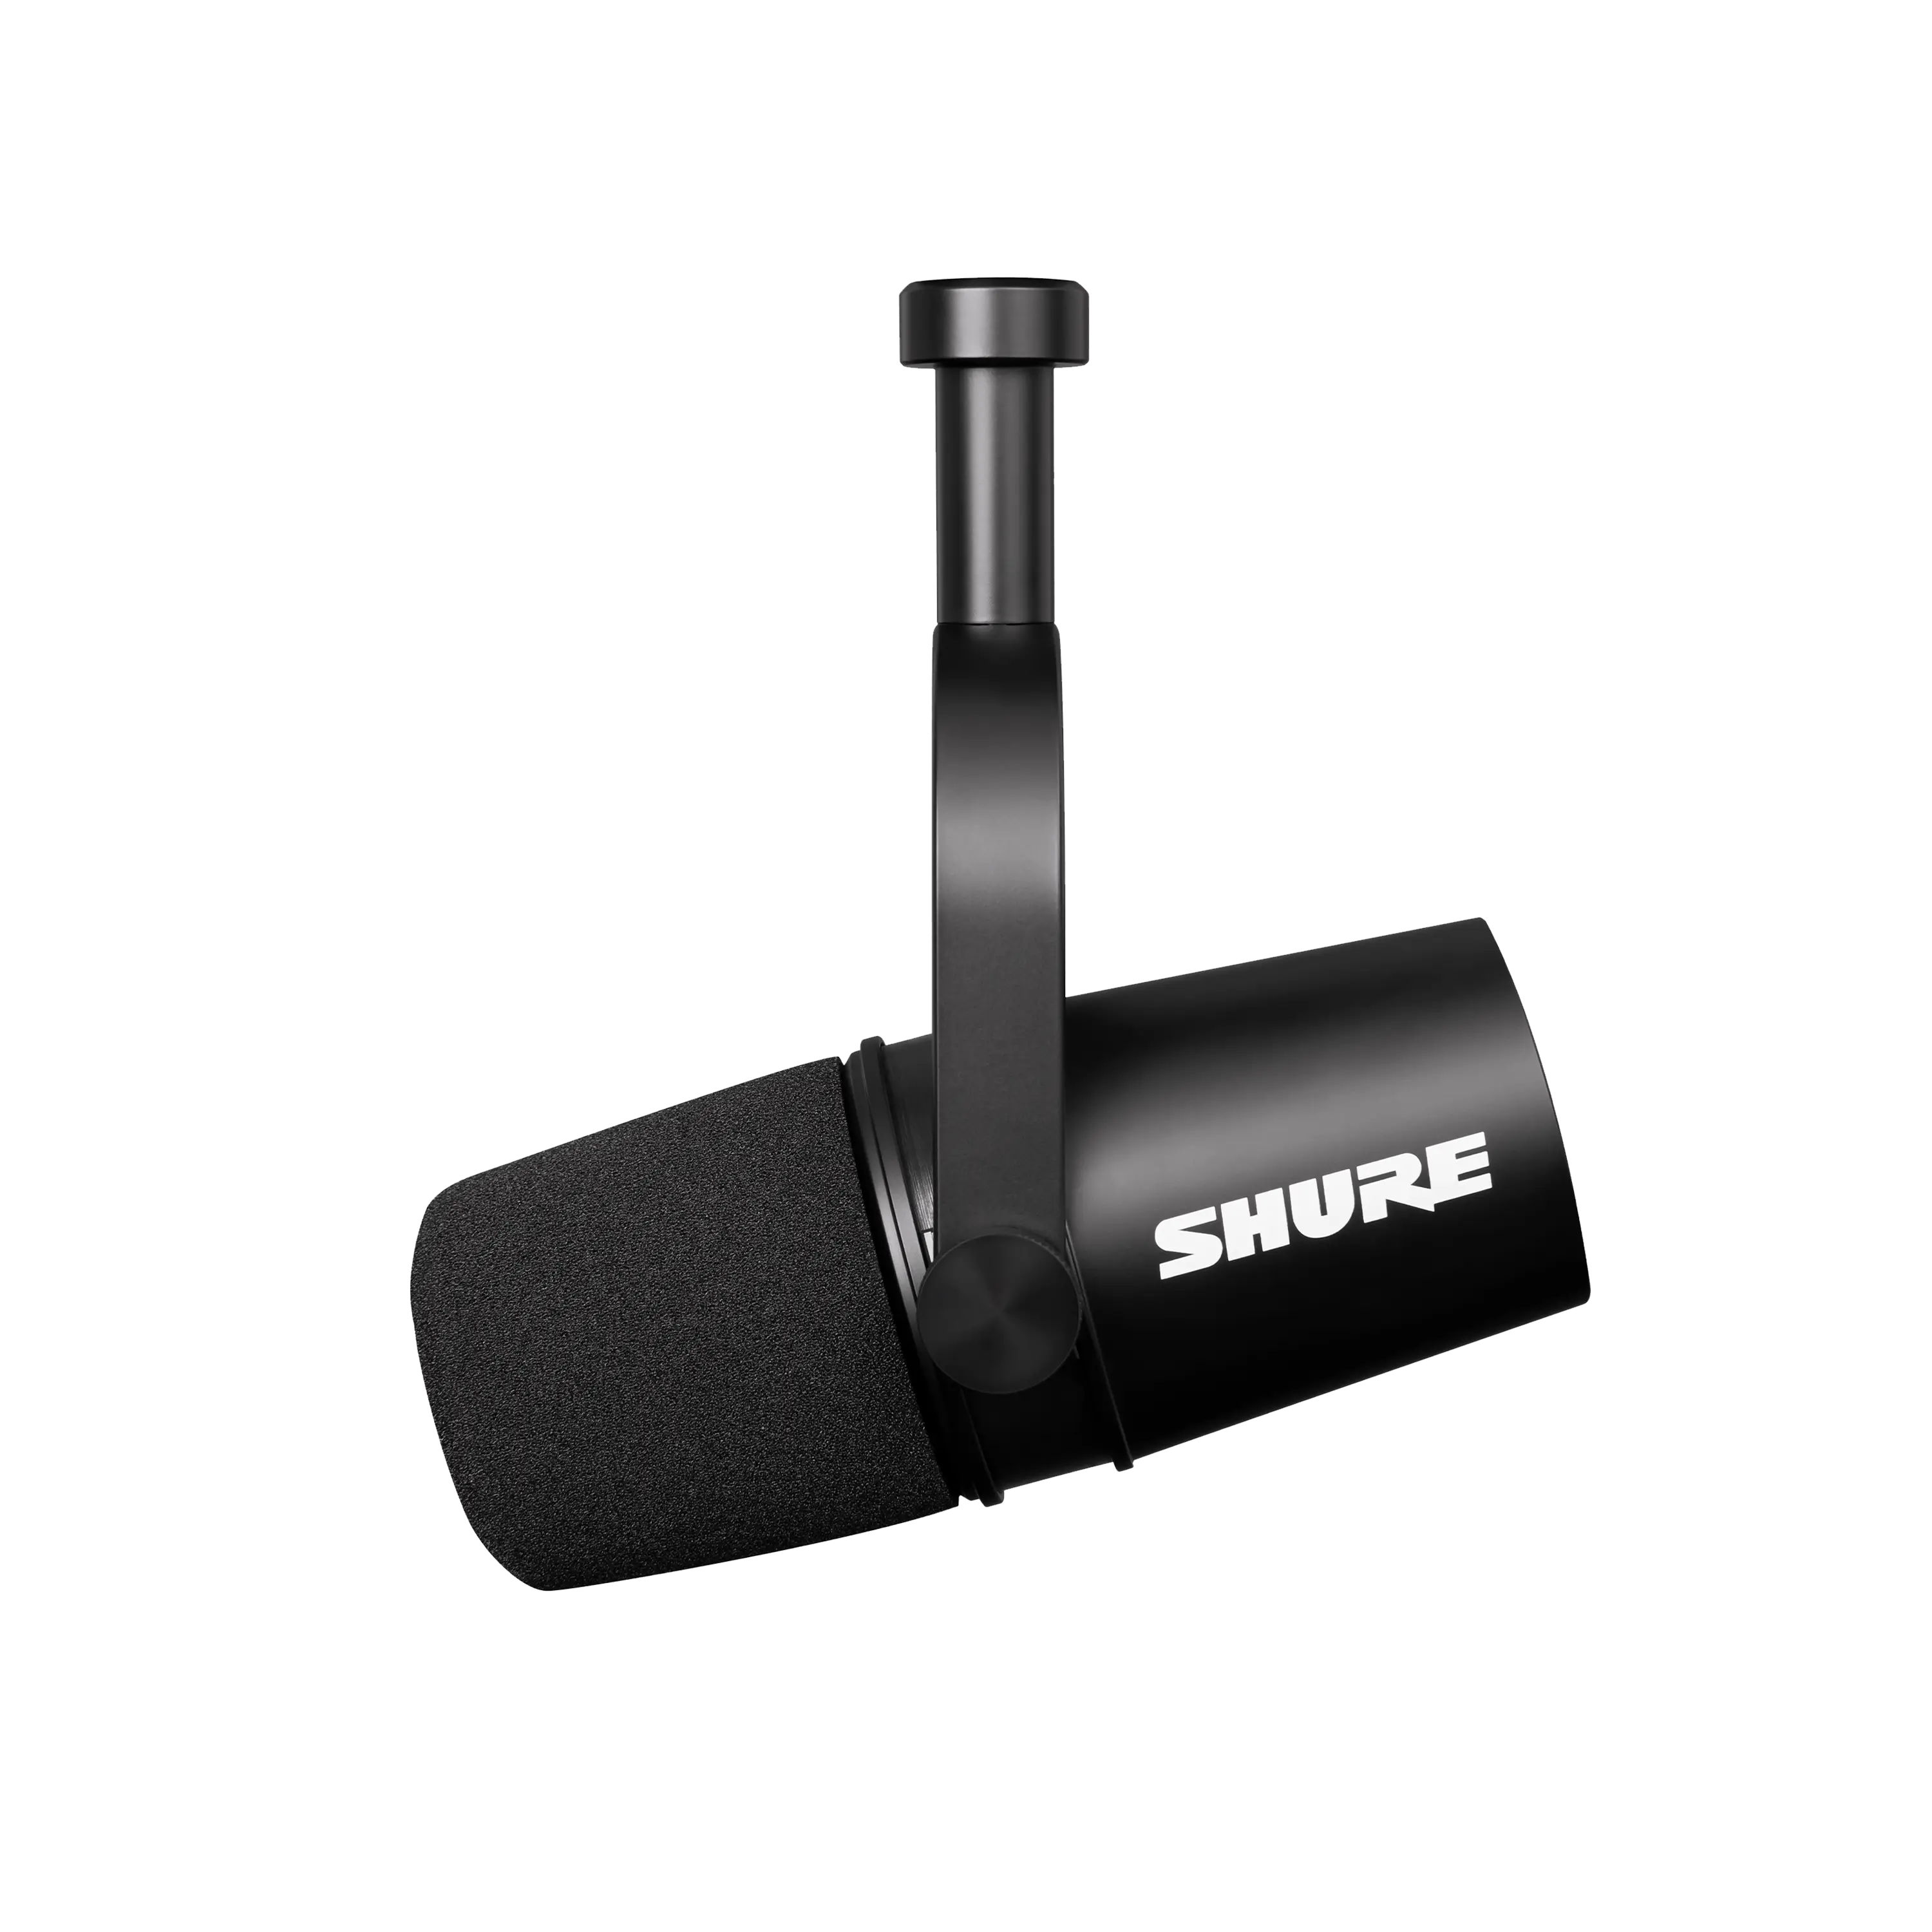
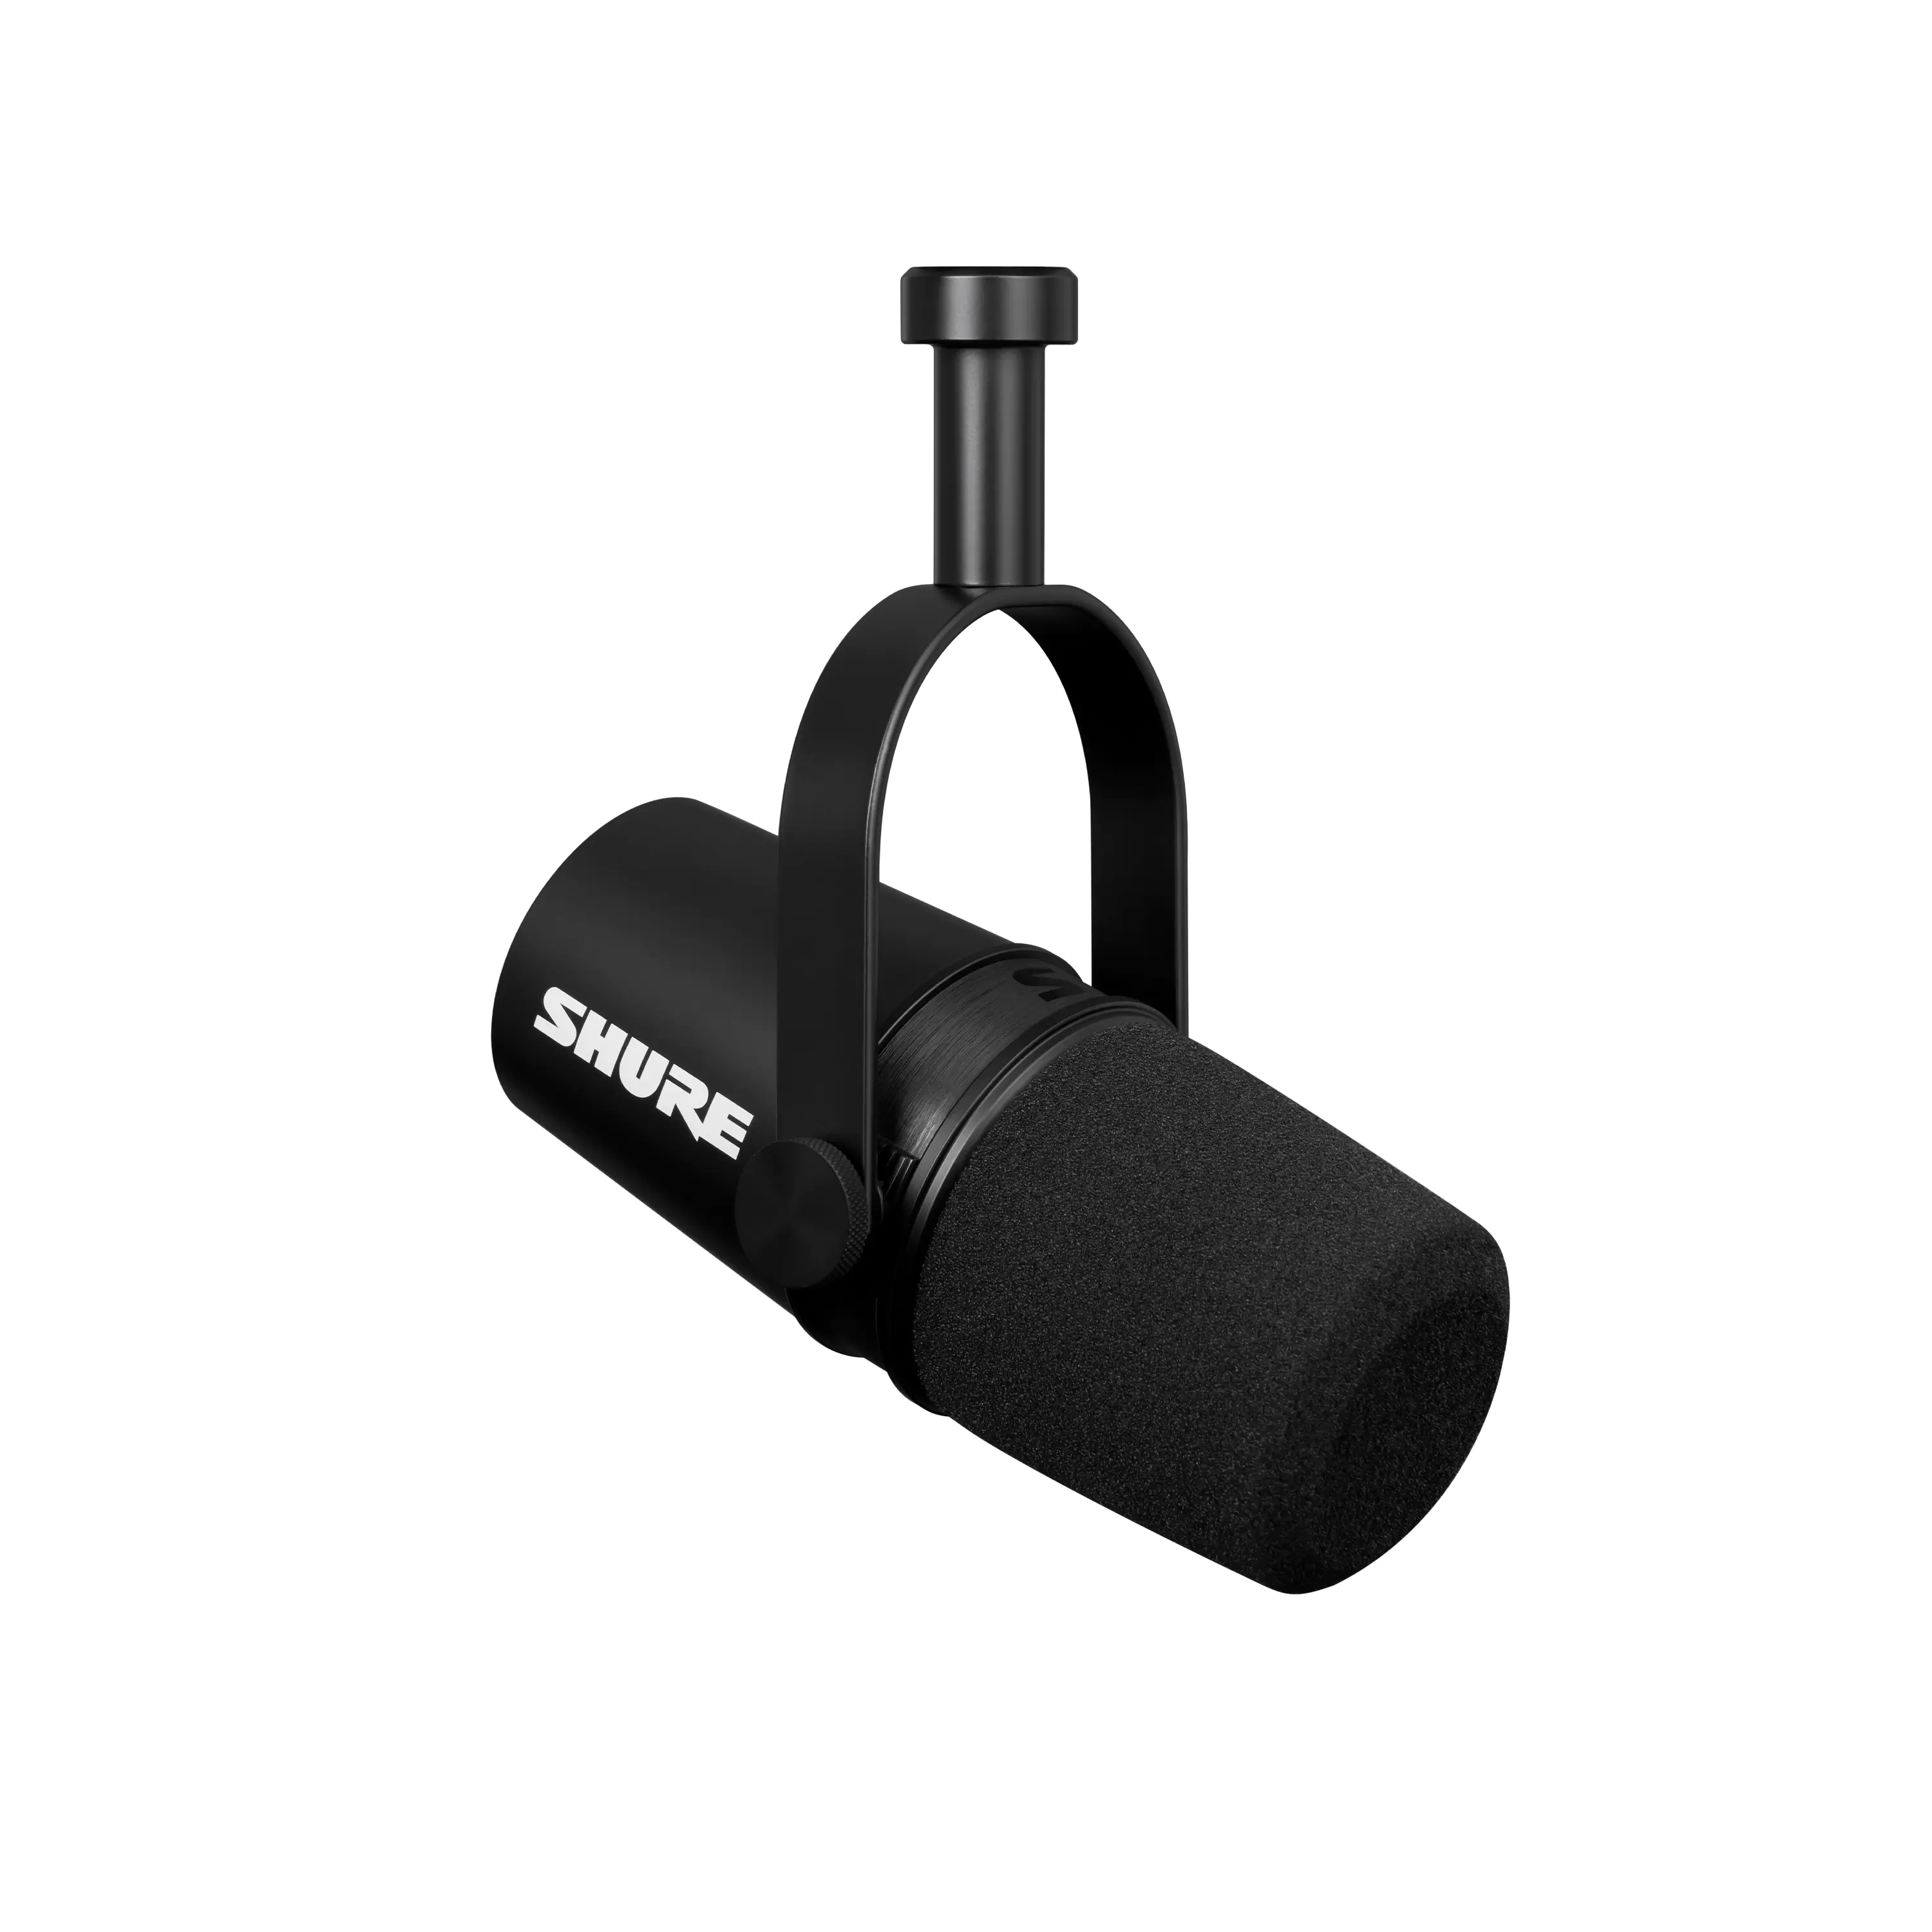
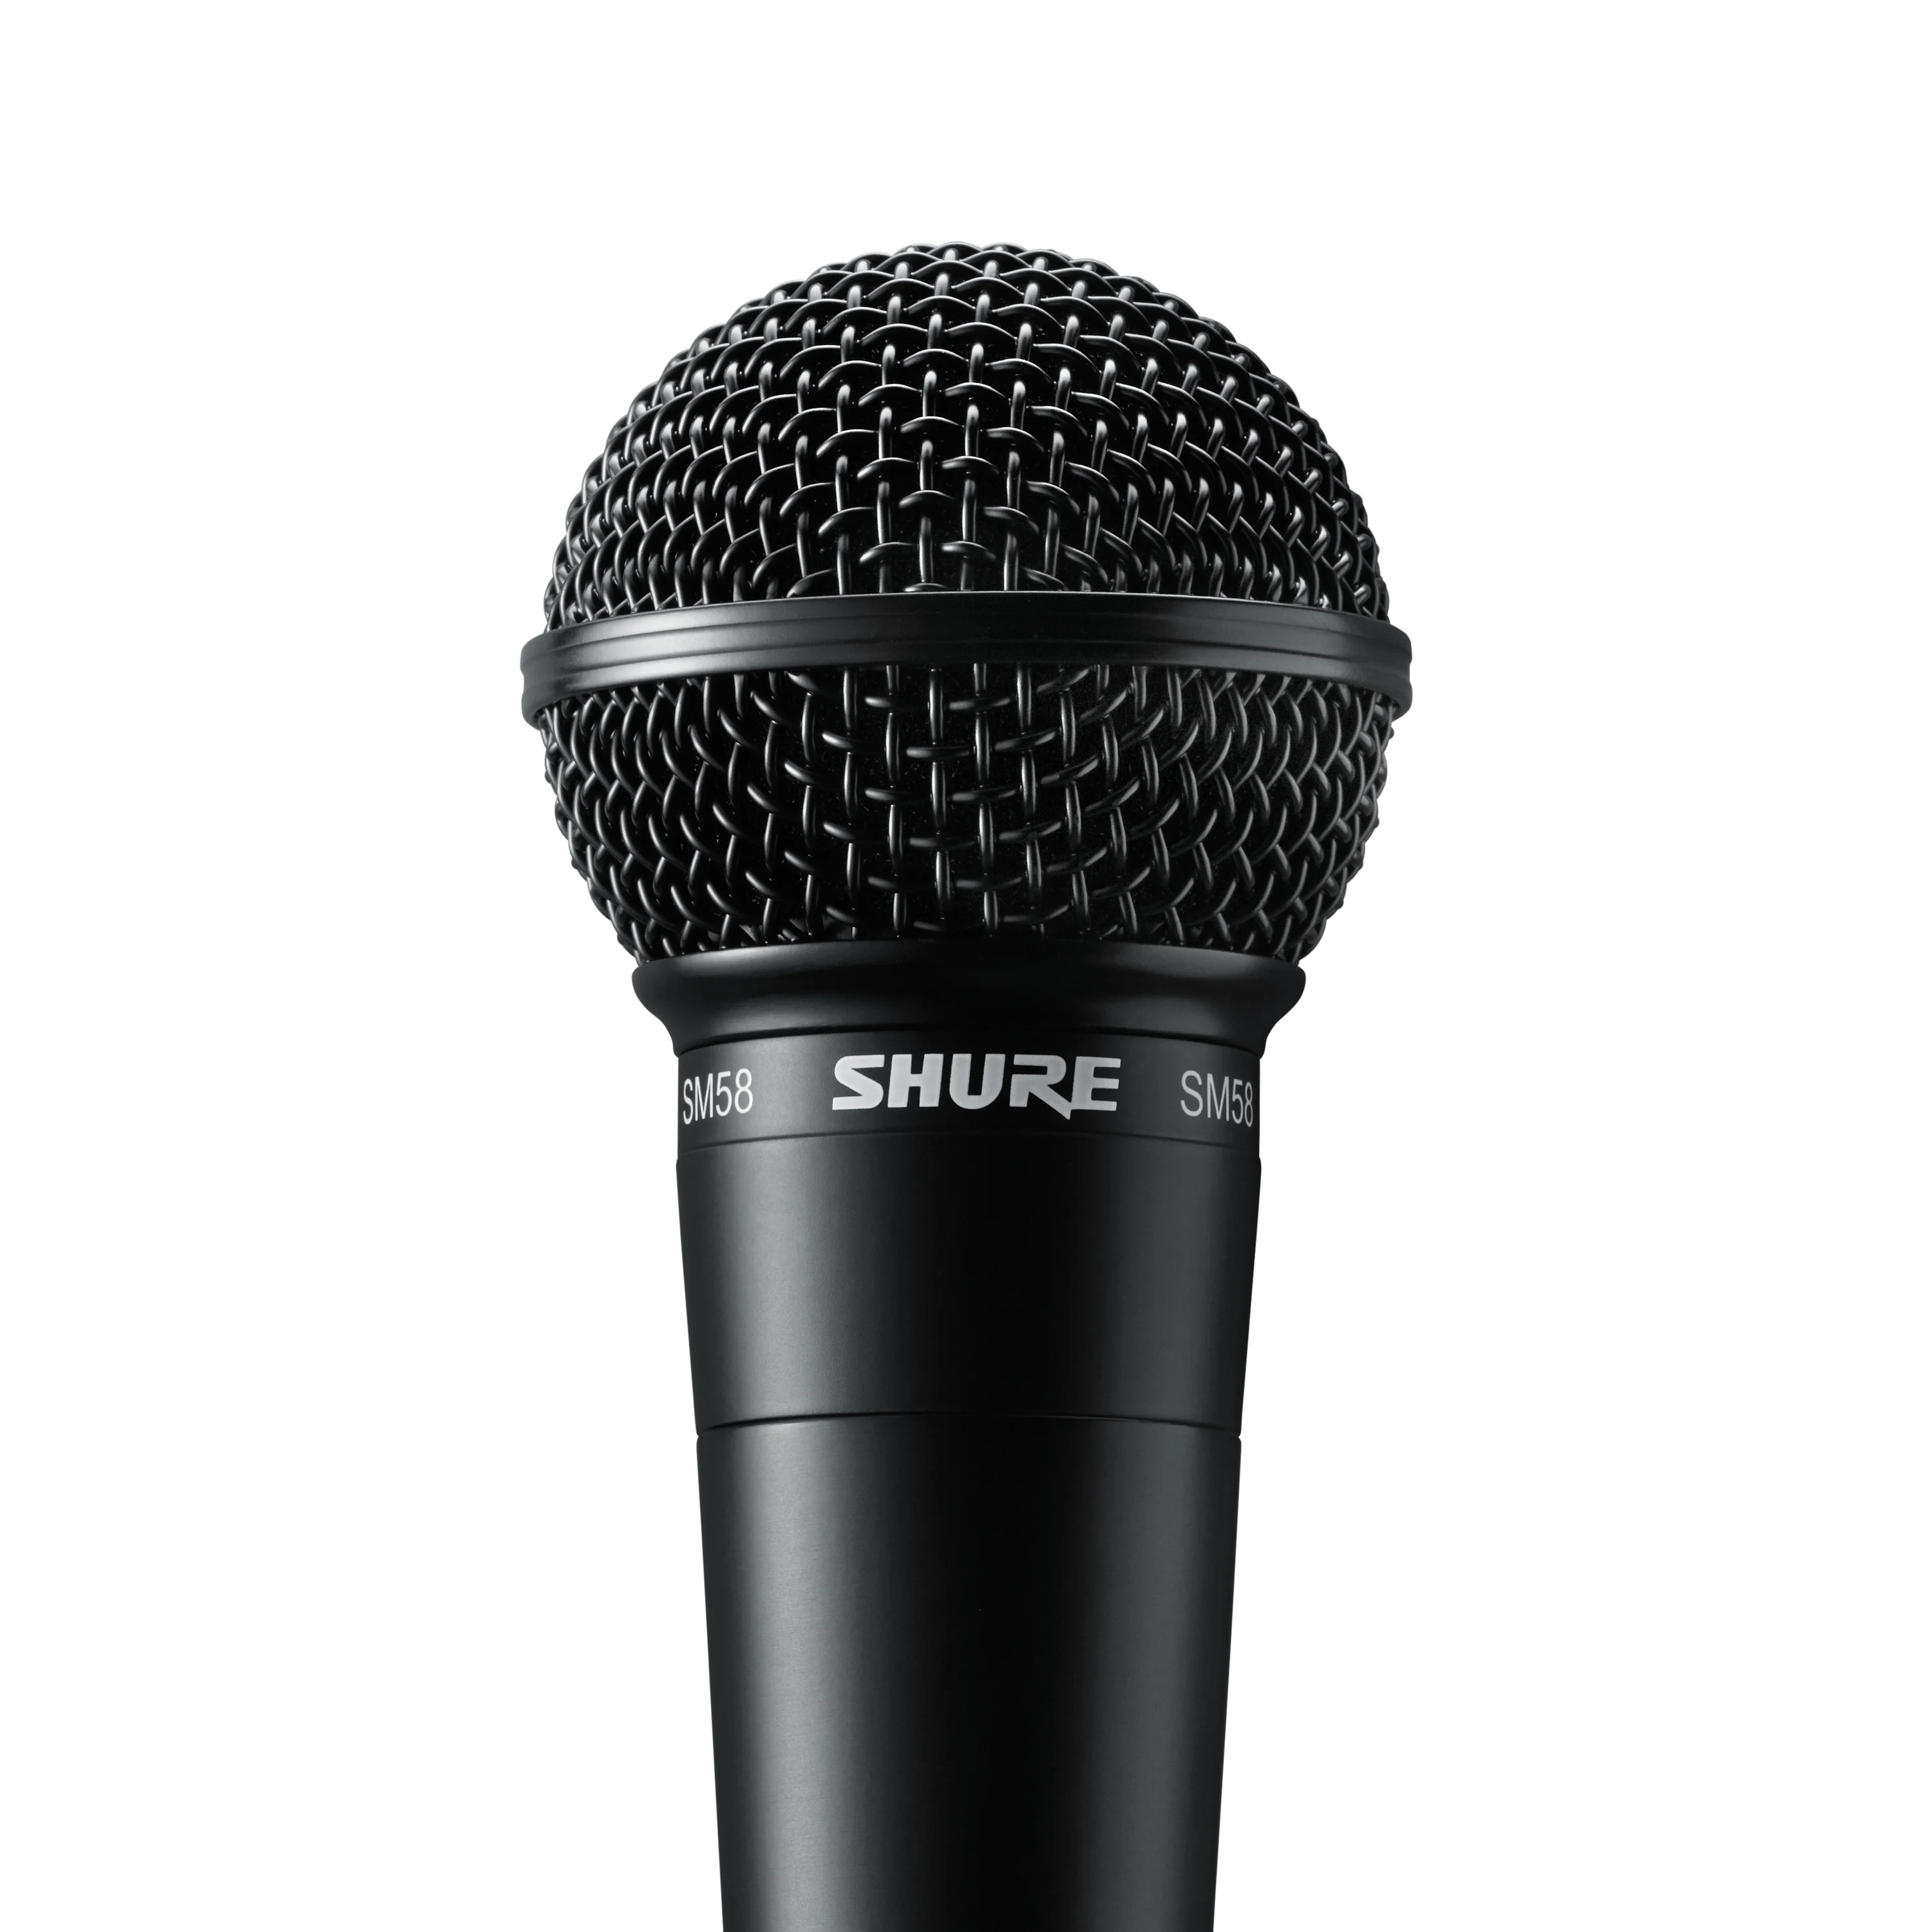
High-end condenser mics, typically used in studio applications, can cost thousands of dollars. However, solid and affordable dynamic microphones, like the Shure SM58 (vocal) and SM57 (instrument), can still perform a multitude of tasks in your home studio.

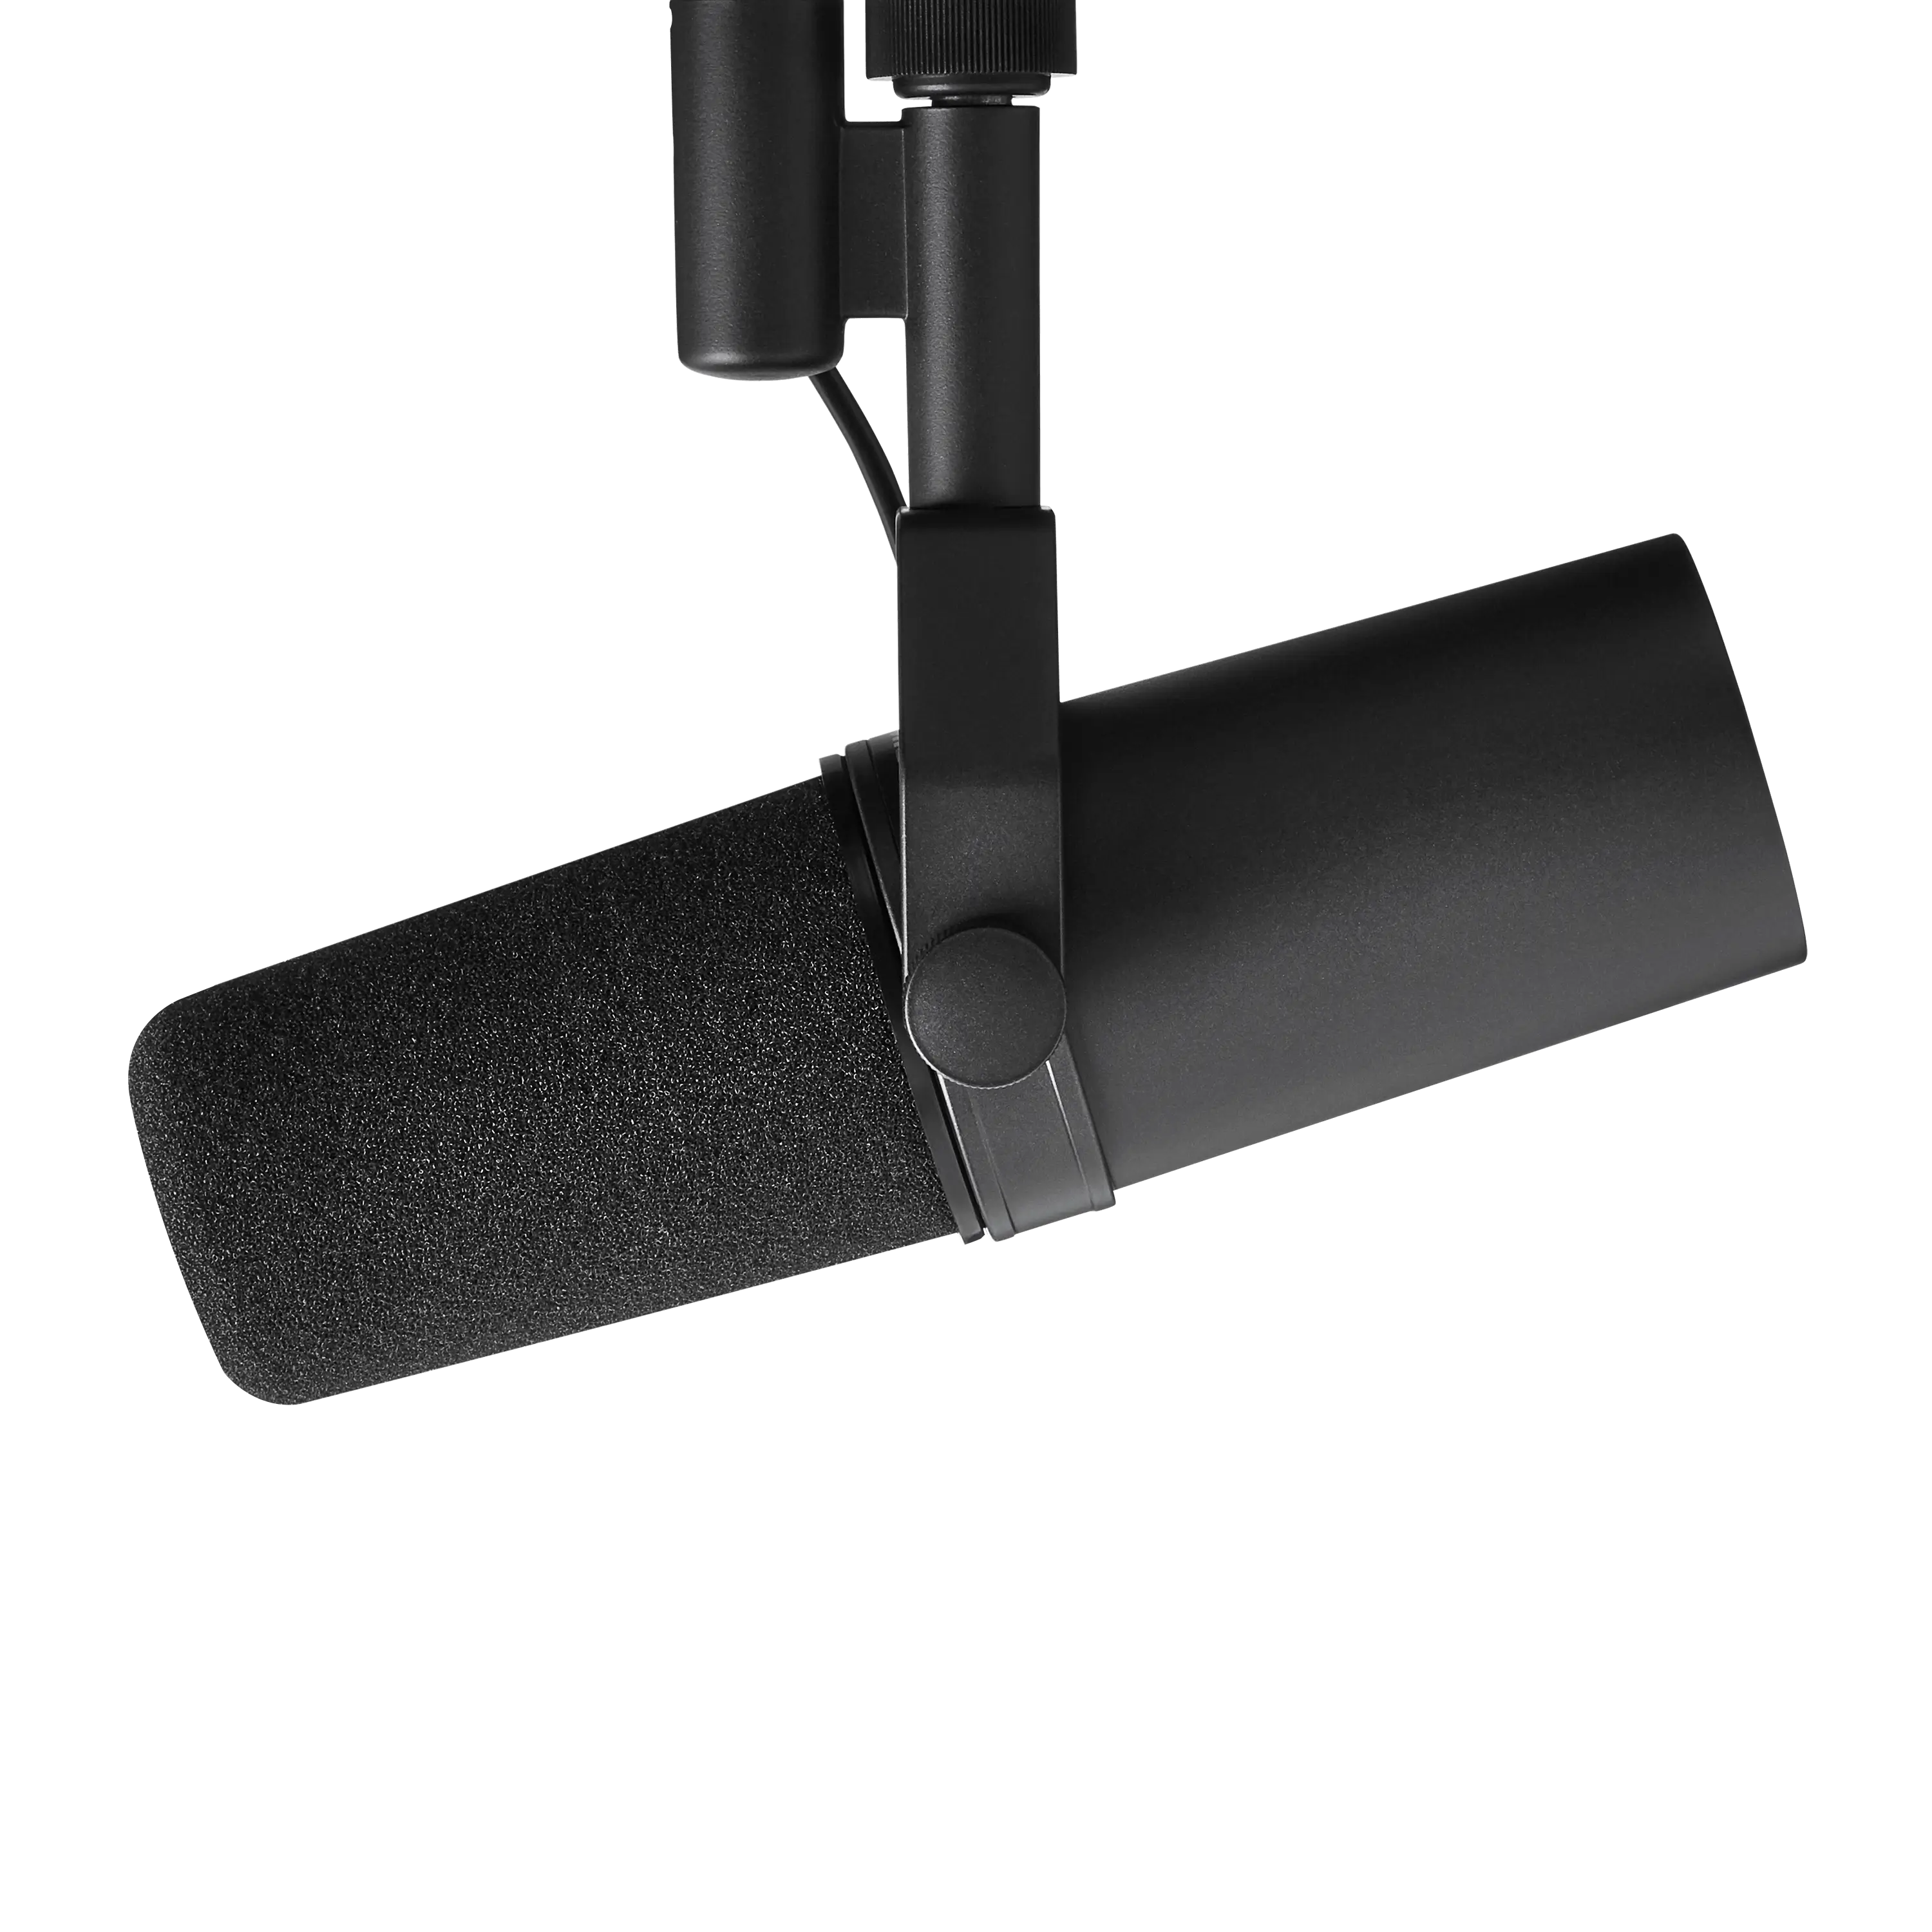
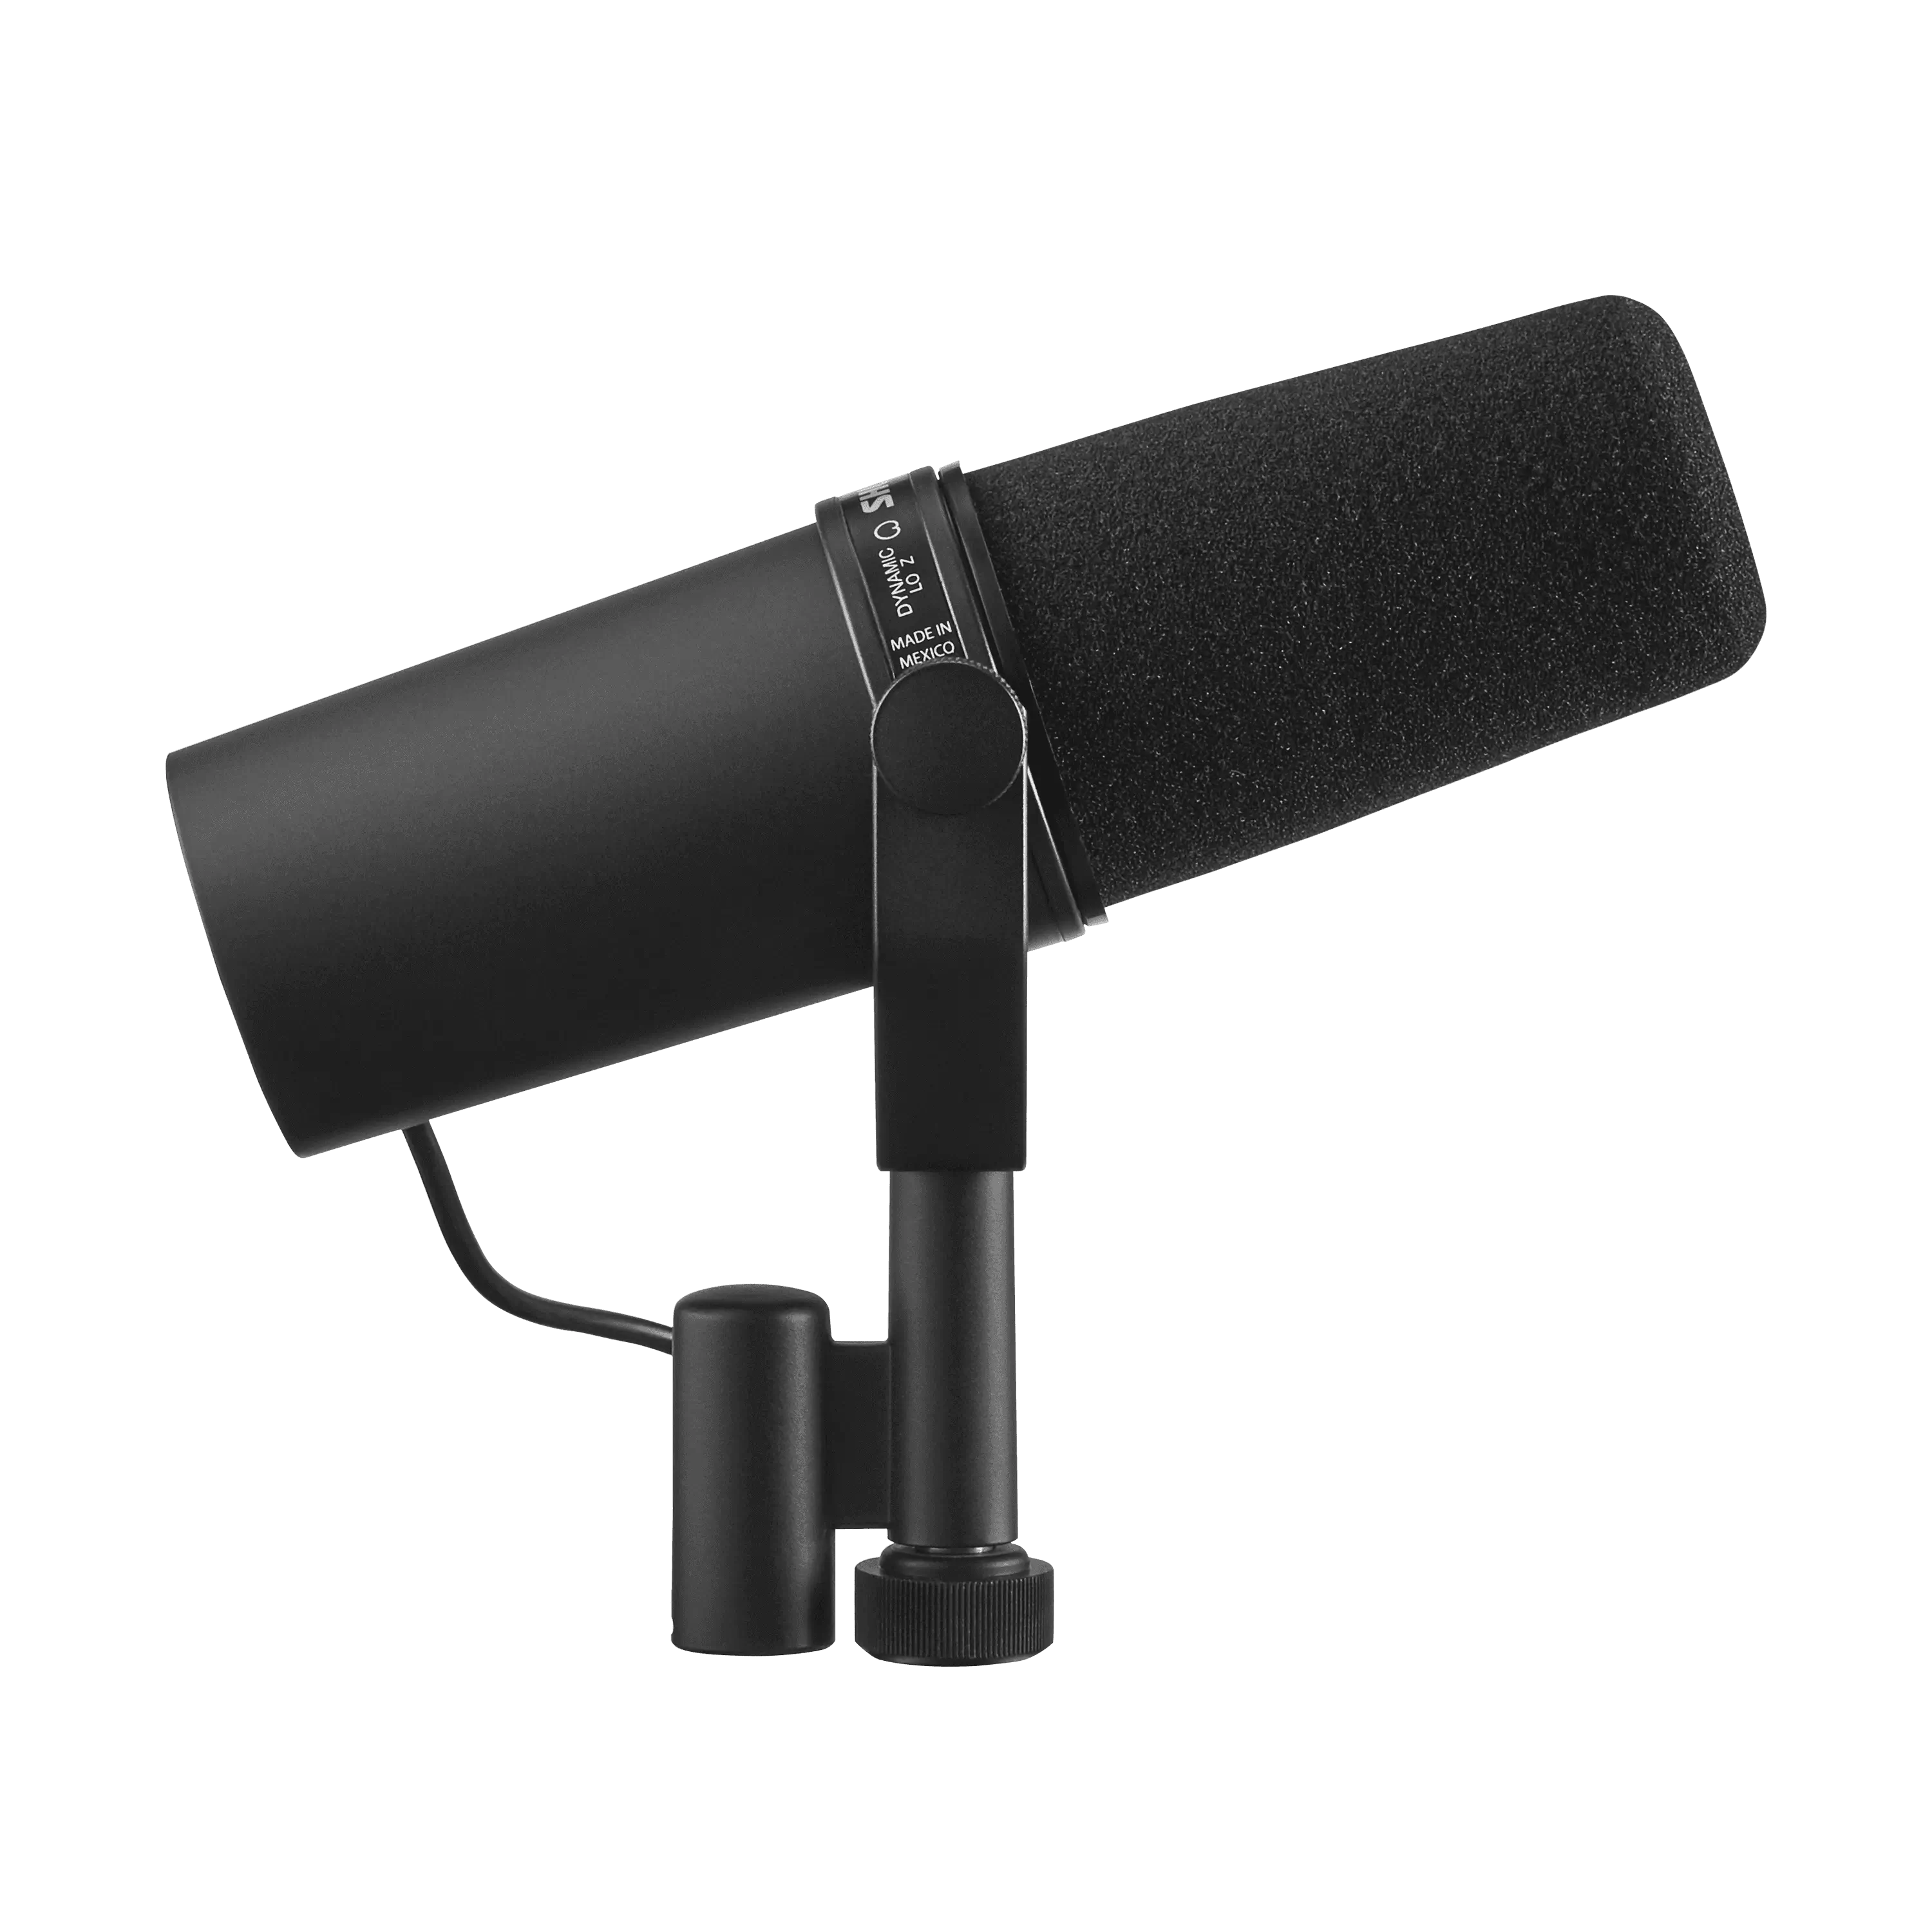
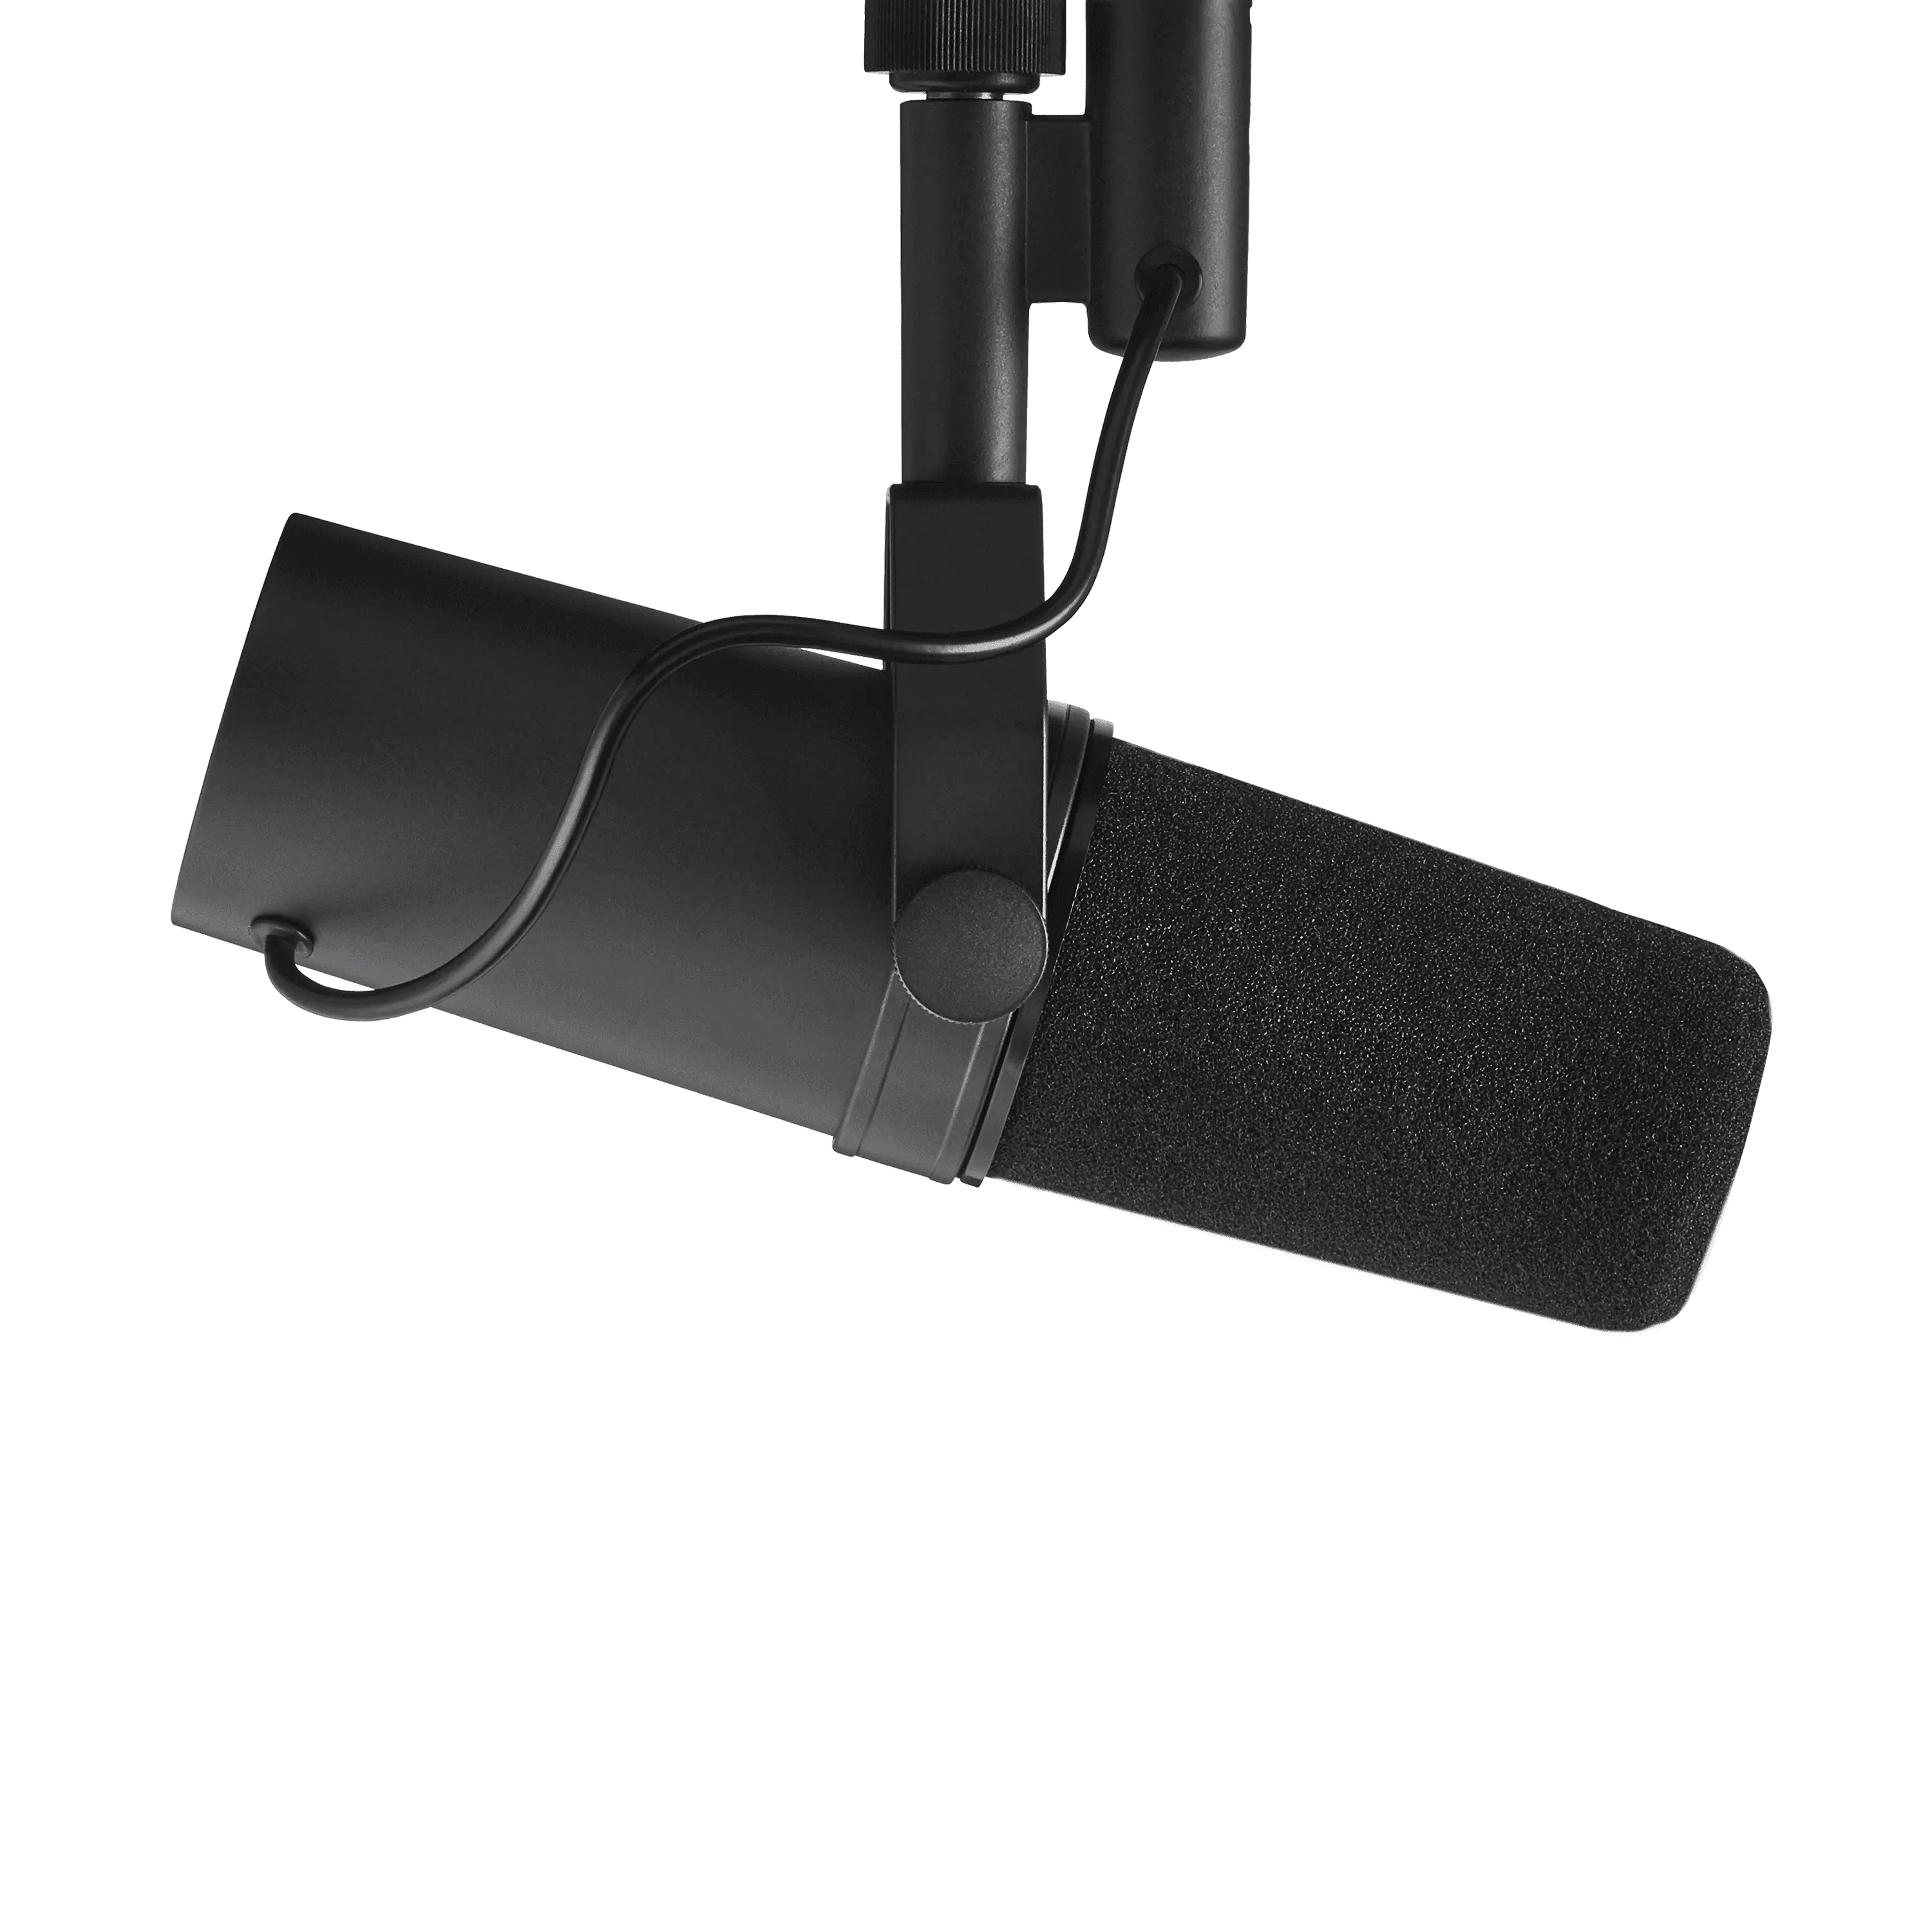
If you have a little more money to spend, there are two possible directions you can take. Condenser mics, like the SM27 and KSM137, give you added crispness on vocals and string instruments. If you prefer the big warm sound of a dynamic microphone, go with the SM7B. It's a legendary vocal microphone used by Michael Jackson on his Thriller album. It's a great mic for a wide range of genres, including rap and heavy metal, which would tend to overload a condenser.
If you can't afford an audio interface just yet, or want to have a recording rig for traveling, you might want to consider a USB mic like the MV51. This large condenser microphone offers professional-quality sound in a robust plug-and-play package. The MV51 even has onboard audio processing, such as de-essing, low-cut filter and compressor. This can save you considerable time in post production and added expenditure on extra plug-ins.

Remember: If you focus first instead on versatility, you'll be able to handle almost any miking tasks, vocal or instrument. Later on, you can certainly add those more unique application-specific mics.
Mic Placement Tips for Home Studios:
- Record each voice and instrument separately.
- Maintain a consistent sound level.
- Keep the microphone away from reflective surfaces.
- Place the mic as far as possible and pointed away from unwanted sound sources.
- Place the microphone only as close as necessary.
- Fewer microphones mean fewer technical issues.
- Keep the 3-to-1 rule in mind.
MIDI Controllers
MIDI controllers or keyboards come in a variety of shapes, sizes and prices these days. If you're a pro keyboard player, you may want to invest in something sophisticated. But for everyone else, a less-expensive controller will work just fine for home recording purposes.
Some controllers also come with pads, sliders, or knobs on them. When considering what you need, look first at the comfort factor – do the keys feel good? Do you need 88 keys, or will 25 be enough for you? Then look at the size factor – will it fit on your desk? Avoid controllers that are too complicated. A simple model will be easier to learn and work with.
Headphones and Monitors for Home Studios
Now it's time to listen to what you've put down. You might be thinking: "Great! I already have headphones and speakers."
However, studio monitors and headphones offer a stereo image and a flat, balanced tone that accurately depict what you have recorded. They aren't colored (with more bass, for instance) to sound more appealing like regular consumer speakers and headphones are. Using studio gear might not sound as exciting at first, but that's because you're hearing an honest representation of the music.

One thing you may also notice about studio monitors is that they're small. Most home studios will do just fine with 5-inch models. For mixing and monitoring, you'll want studio headphones that are as neutral and accurate as possible; they're the ears of your recording system, and you'll make a lot of important decisions based on what they deliver. Good quality studio 'cans,' like the models Shure sells, start at $100 upwards.
Bringing it Home
Digital technology has truly revolutionized home recording in recent years. While buying gear is always fun, just remember that it's possible to make great music with much less these days. Think quality over quantity.
Building a home studio won't, of course, suddenly transform you into a crackerjack engineer or producer. You'll need plenty of experience to perfect your craft and master the tools of the trade. But that's the great thing about having a studio where you live: You can practice all you want!
Editor's note: This post was originally published on June 13, 2012 and was updated on April 19, 2018.


